Mpesa API Integration: Step-by-Step Guide to Integrating Lipa na Mpesa Online
Mpesa is a mobile payment service offered by Safaricom to its Subscribers in Kenya and Tanzania. It was launched in 2007 and has won the masses over the years.
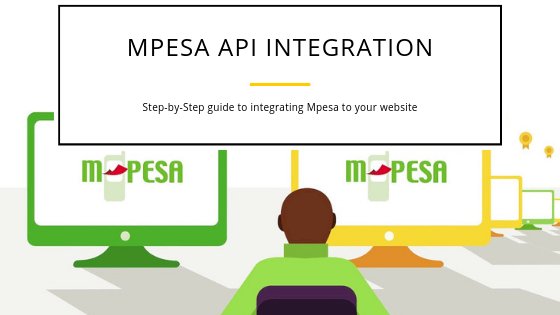
Mpesa API Integration: Step-by-Step Guide to Integrating Lipa na Mpesa Online
Mpesa is a mobile payment service offered by Safaricom to its Subscribers in Kenya and Tanzania. It was launched in 2007 and has won the masses over the years. Mpesa allows you to deposit, withdraw, send money, buy airtime and borrow a loan from M-Shwari or Fuliza service. On the same note, you can pay for goods or services via Paybill or buy goods till number. Almost every business organization has a Lipa na Mpesa till number or Paybill number to accept payments from customers and other business organizations.
This guide provides a step by step process to Lipa na Mpesa integration for your website, mobile application, point of sale or any other software systems for you to accept payments via Mpesa.
Lipa Na Mpesa Online
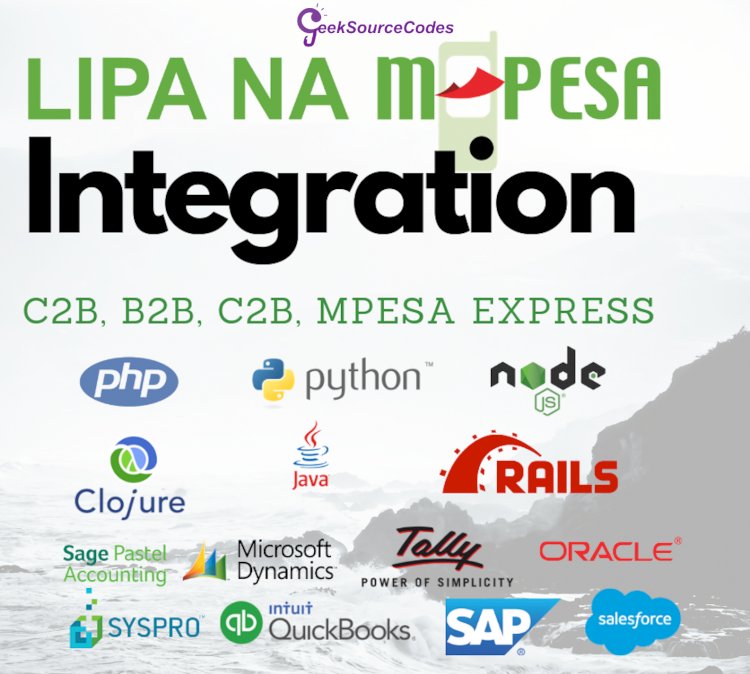
Recently, Safaricom introduced a new Safaricom Mpesa API dubbed ‘The Daraja API’ to enable developers to integrate Safaricom payment for Business to Customers (B2C), Customers to business (C2B) and Business to Business (B2B).
To accept Lipa na Mpesa online, you should have a checkout button in your website, app or system which the user can click to pay for the goods or services that you offer. When a user clicks the button, it triggers a post request to Daraja having the relevant payload amount. Daraja processes the request and sends an STK push to the user’s phone prompting him or her to enter M-Pesa password and click OK to complete the transaction. M-Pesa processes the request by debiting the user’s account and sending a webhook with the details for the transaction to your servers.
Requirements to accept Lipa na Mpesa Online
-
You should have a Paybill account. To apply for a paybill account, sent an empty email to paybill@safaricom.co.ke
-
A Safaricom developer account. You can visit Safaricom developer’s portal and register an account for free if you do not have one.
-
Any programming knowledge (PHP, JavaScript, Python e.t.c). If you don’t any programming skills, you can hire here a Mpesa integration expert.
-
A website, App, or Point of Sale or any other.
Step-by-Step Guide to Integrating Mpesa to a Website, App or System
Step 1: Create an account on Mpesa G2 Portal
Accessing pay bill and till number transactions require you to have an account on Mpesa G2 Portal. Creating an account on Mpesa G2 Portal will enable you to create a user who will be sent a One Time Password (OTP) that you can use to test if Mpesa API integration is a success.
Mpesa API integration requires windows internet explorer browser with a certificate from Safaricom to setup the Mpesa portal. To request a certificate, send a blank email to M-pesaCertpassword@safaricom.co.ke
Safaricom will respond to the email automatically with a link for you to request a certificate. Click on the link to install the certificate in Windows Internet Explorer.
Note: You can use chrome to continue the process once you have installed the certificate.
-
To get an account on Mpesa G2 portal send an email to Mpesabusiness@safaricom.co.ke or call 0722002222 and request Safaricom to setup Mpesa G2 portal for you.
-
Login to the portal and go to “Operator management”
-
Create a user with the name “Business Manager”
-
Set phone number (not email) to get notification via SMS.
Step 2: Create an App on Mpesa Developer portal
Go to Mpesa Developer Portal and register for an account
Create an app
The app will be used to access the Mpesa API
Step 3: Write C2B, B2C or B2B code
The third step is where it gets juicy. You have to write the code for handling all the transaction. You can use any language that you are comfortable with when writing the code. Check the article Demystifying the M-Pesa API to learn how to write a code to handle transactions. If you are not a developer you can hire an API expert. Go to Mpesa API Integration Service to hire a developer.
A Mpesa API developer will go through all the steps provided in this tutorial and do all the process for you. All that you will be required to do is apply for Paybill account only and the developers will take care of the rest.
Step 4: Go live
The fourth step in Mpesa API integration is to go live. Before you go live, ensure that your code runs properly to be testing the code.
-
Go to developer portal and “Go live”
-
You will be required to verify that you are the actual owner of the API before going live.
-
The first step for verification is to upload the test case.
-
The second step is to fill in the company details. The following substeps will guide you on how to fill the forms.
-
Verification Type: Short Code
-
Organization Name: Enter your pay bill or till name
-
Organization Short Code: Enter either your pay bill number
-
Mpesa User Name: use the name you created in step 2
-
You will receive an OTP to the number you registered in step 1
-
Enter the received password and click Submit
-
Tick all the check and key in the OTP then click “Submit”
-
Switch to the live app and use the live app’s secret code written in step 2 and Consumer Keys
Once you have done this, enter the URL endpoints to the action button which a customer will click on your website, app or system. Test if the integration was a success by clicking on the button to initiate payments and pay before making your site or app live for customers to make payments.
Want to integrate Mpesa to your website? Go to Mpesa API Integration Service to get a quote
Explore more on this website for more source codes and tutorials.
Enjoy!
For more information about the system. You can contact me @
Email –geeksourcecodes@gmail.com
Mobile No. – +254714643906
Or feel free to comment below.
SUBSCRIBE TO OUR YOUTUBE CHANNEL BELOW TO WATCH MORE VIDEOS

FAIR USE ACT DISCLAIMER
This site content is shared for educational purposes only under Fair Use.
Fair Use:
Copyright Disclaimer Under Section 107 of the Copyright Act in 1976; Allowance is made for "Fair Use" for purposes such as criticism, comment, news reporting, teaching, scholarship, and research. Fair use is a use permitted by copyright statute that might otherwise be infringing. Non-profit, educational or personal use tips the balance in favor of fair use.
All rights and credit go directly to its rightful owners. No copyright infringement intended.
PS: Kindly DON'T use any source codes for commercial purpose without the permission of the original author otherwise you will take all resposibility for any copyright infringement that may be cause by you.
FAIR USE DEFINITION
Fair use is a doctrine in United States law that permits limited use of copyrighted material without having to first acquire permission from the copyright holder. Fair use is one of the limitations to copyright intended to balance the interests of copyright holders with the public interest in the wider distribution and use of creative works by allowing as a defense to copyright infringement claims certain limited uses that might otherwise be considered infringement.[1] Unlike "fair dealing" rights that exist in most countries with a British legal history, the fair use right is a general exception that applies to all different kinds of uses with all types of works and turns on a flexible proportionality test that examines the purpose of the use, the amount used, and the impact on the market of the original work.
Enjoy.